Last Updated 14th June 2016
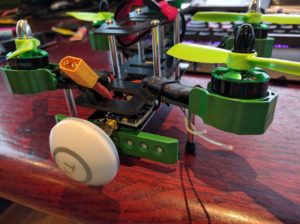
Here I will address quite a few problems with the Eachine Falcon 180, and walk you through fixing them.
If you have never upgraded or used Cleanflight, the details may be very technical, but I will try my best for step by step instructions.
Let me address some of them here as well as screenshots of all the default settings at the bottom. I will attempt to rectify and help Blade185 buyers fix most of the issues I have found.
The Issues
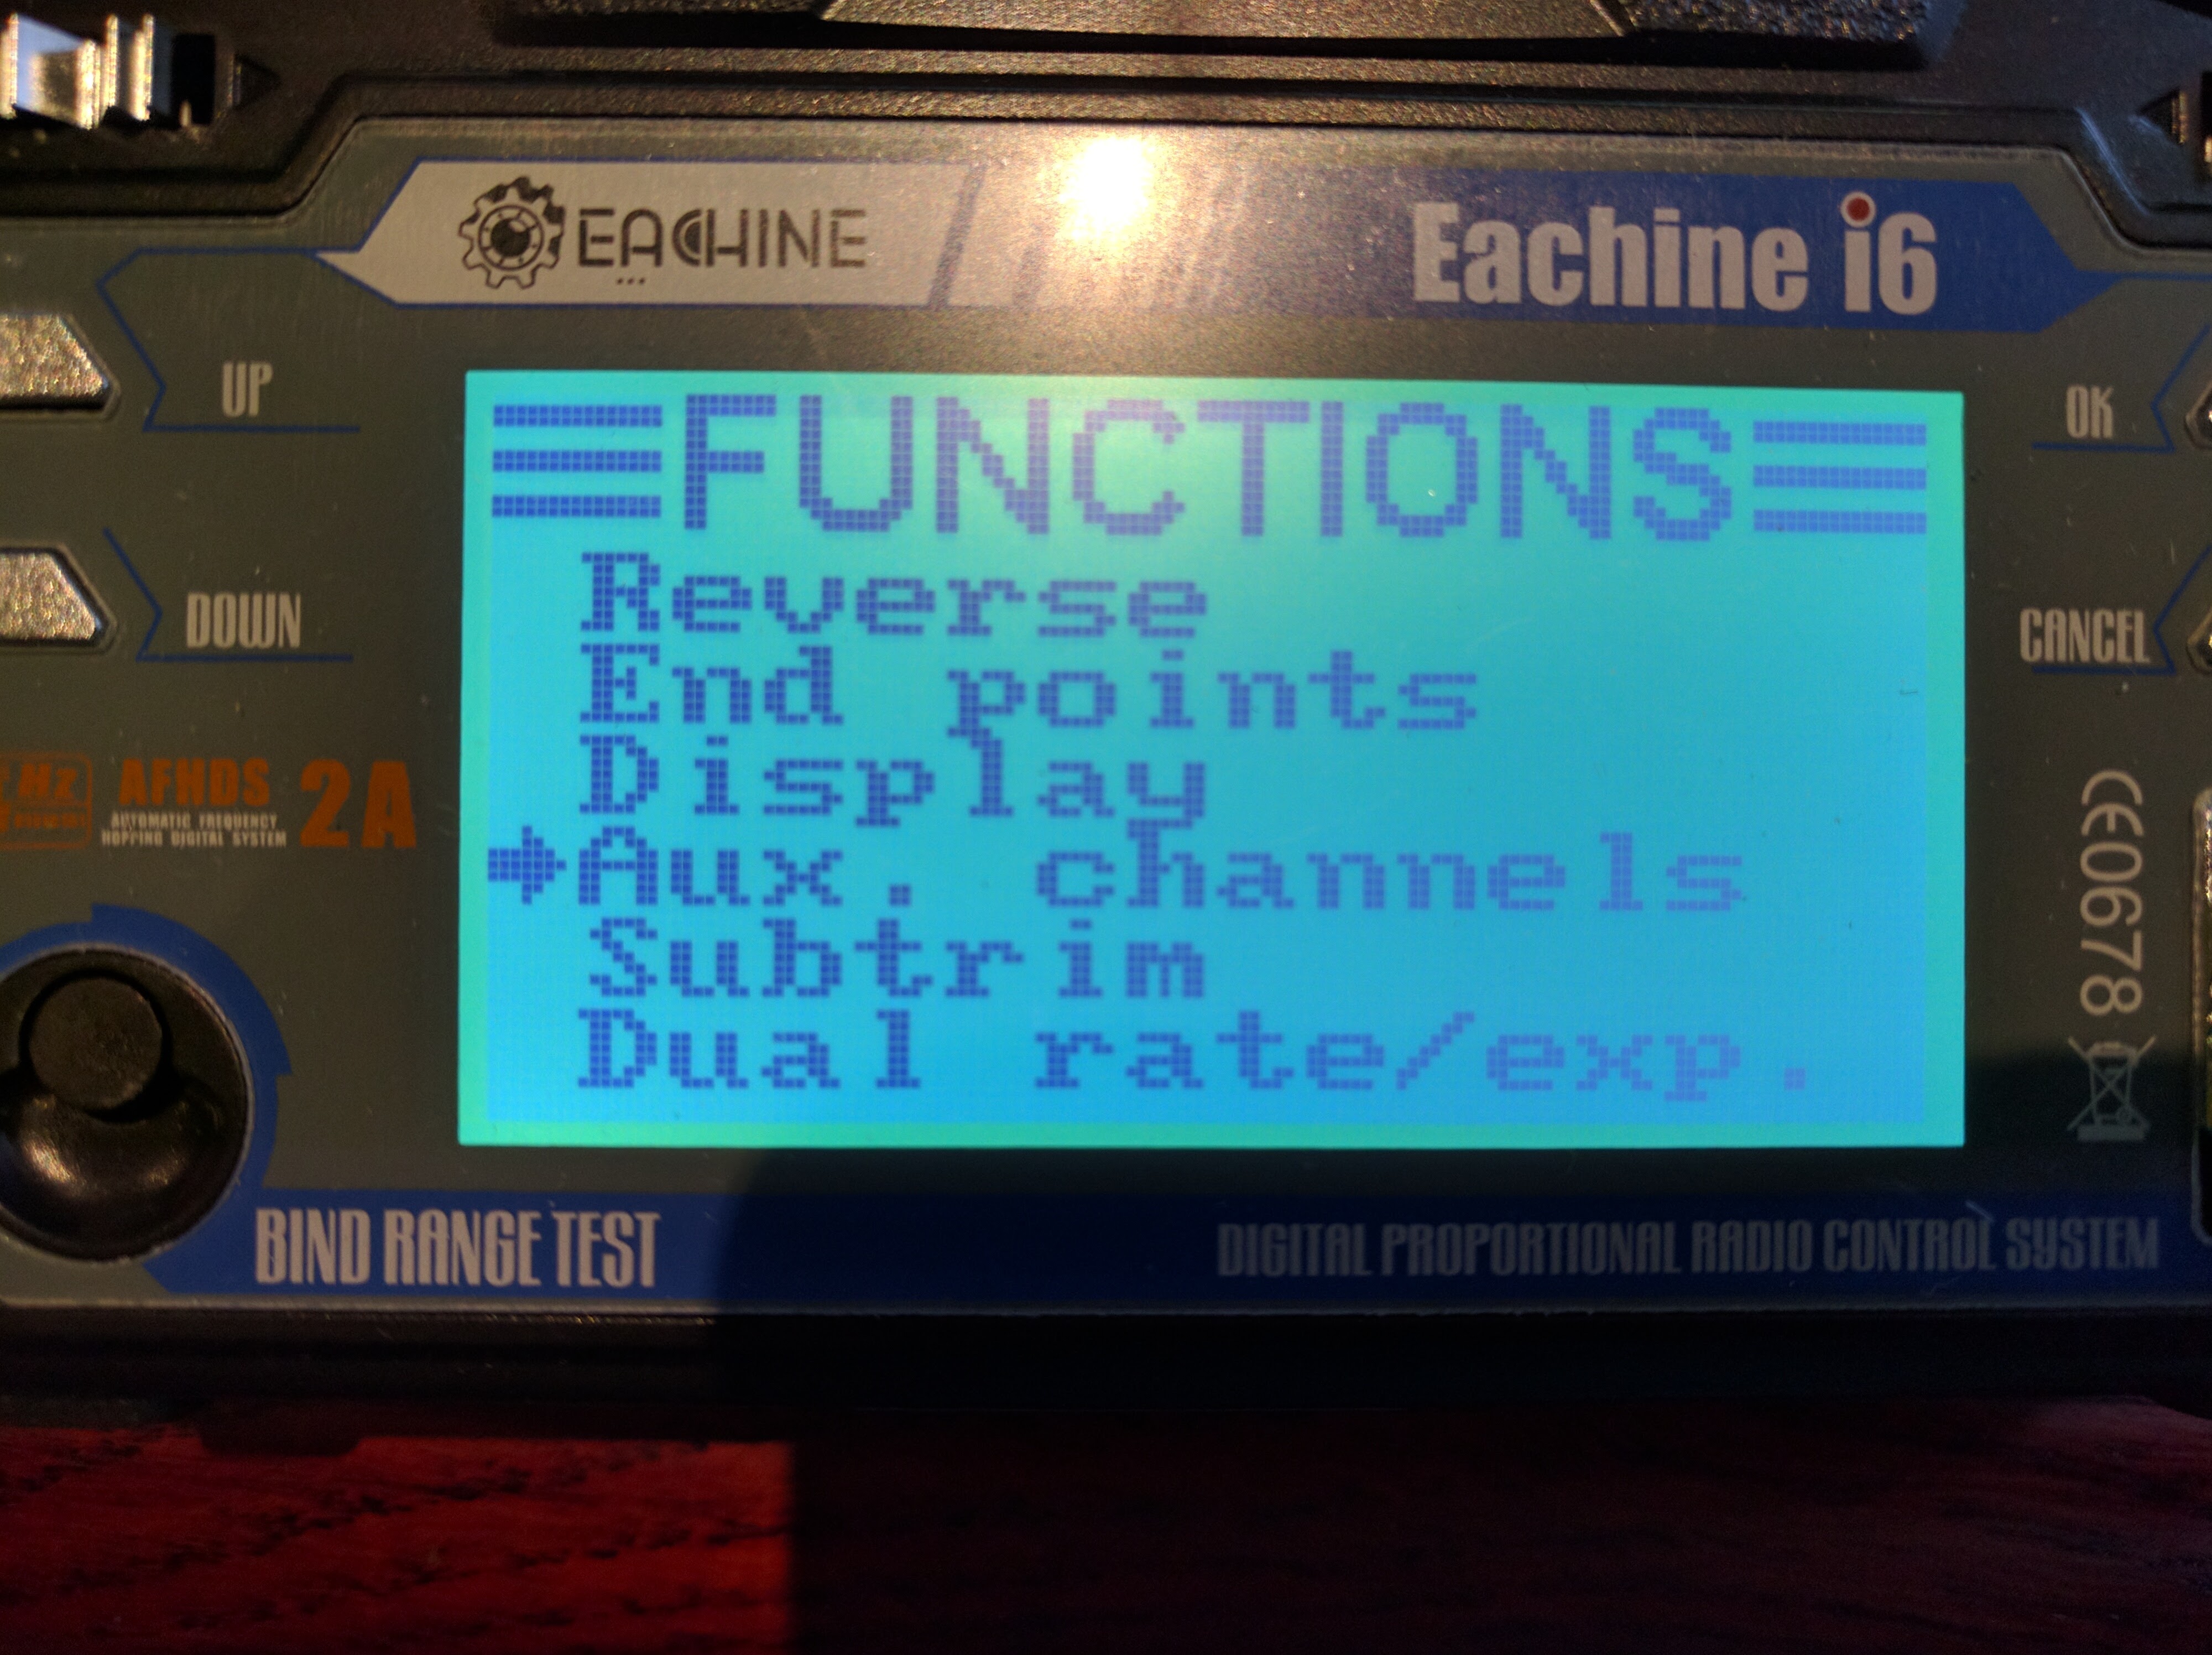
- i6 Eachine transmitter has locked Bootloader by Default – Can’t change any settings
- AUX 1 is set to Knob VRA and it does nothing.
- AUX 2 is set to Knob VRB
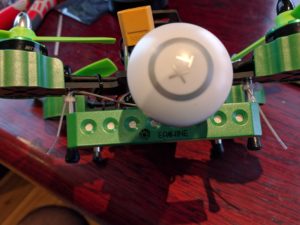
- LED Bar easily comes off
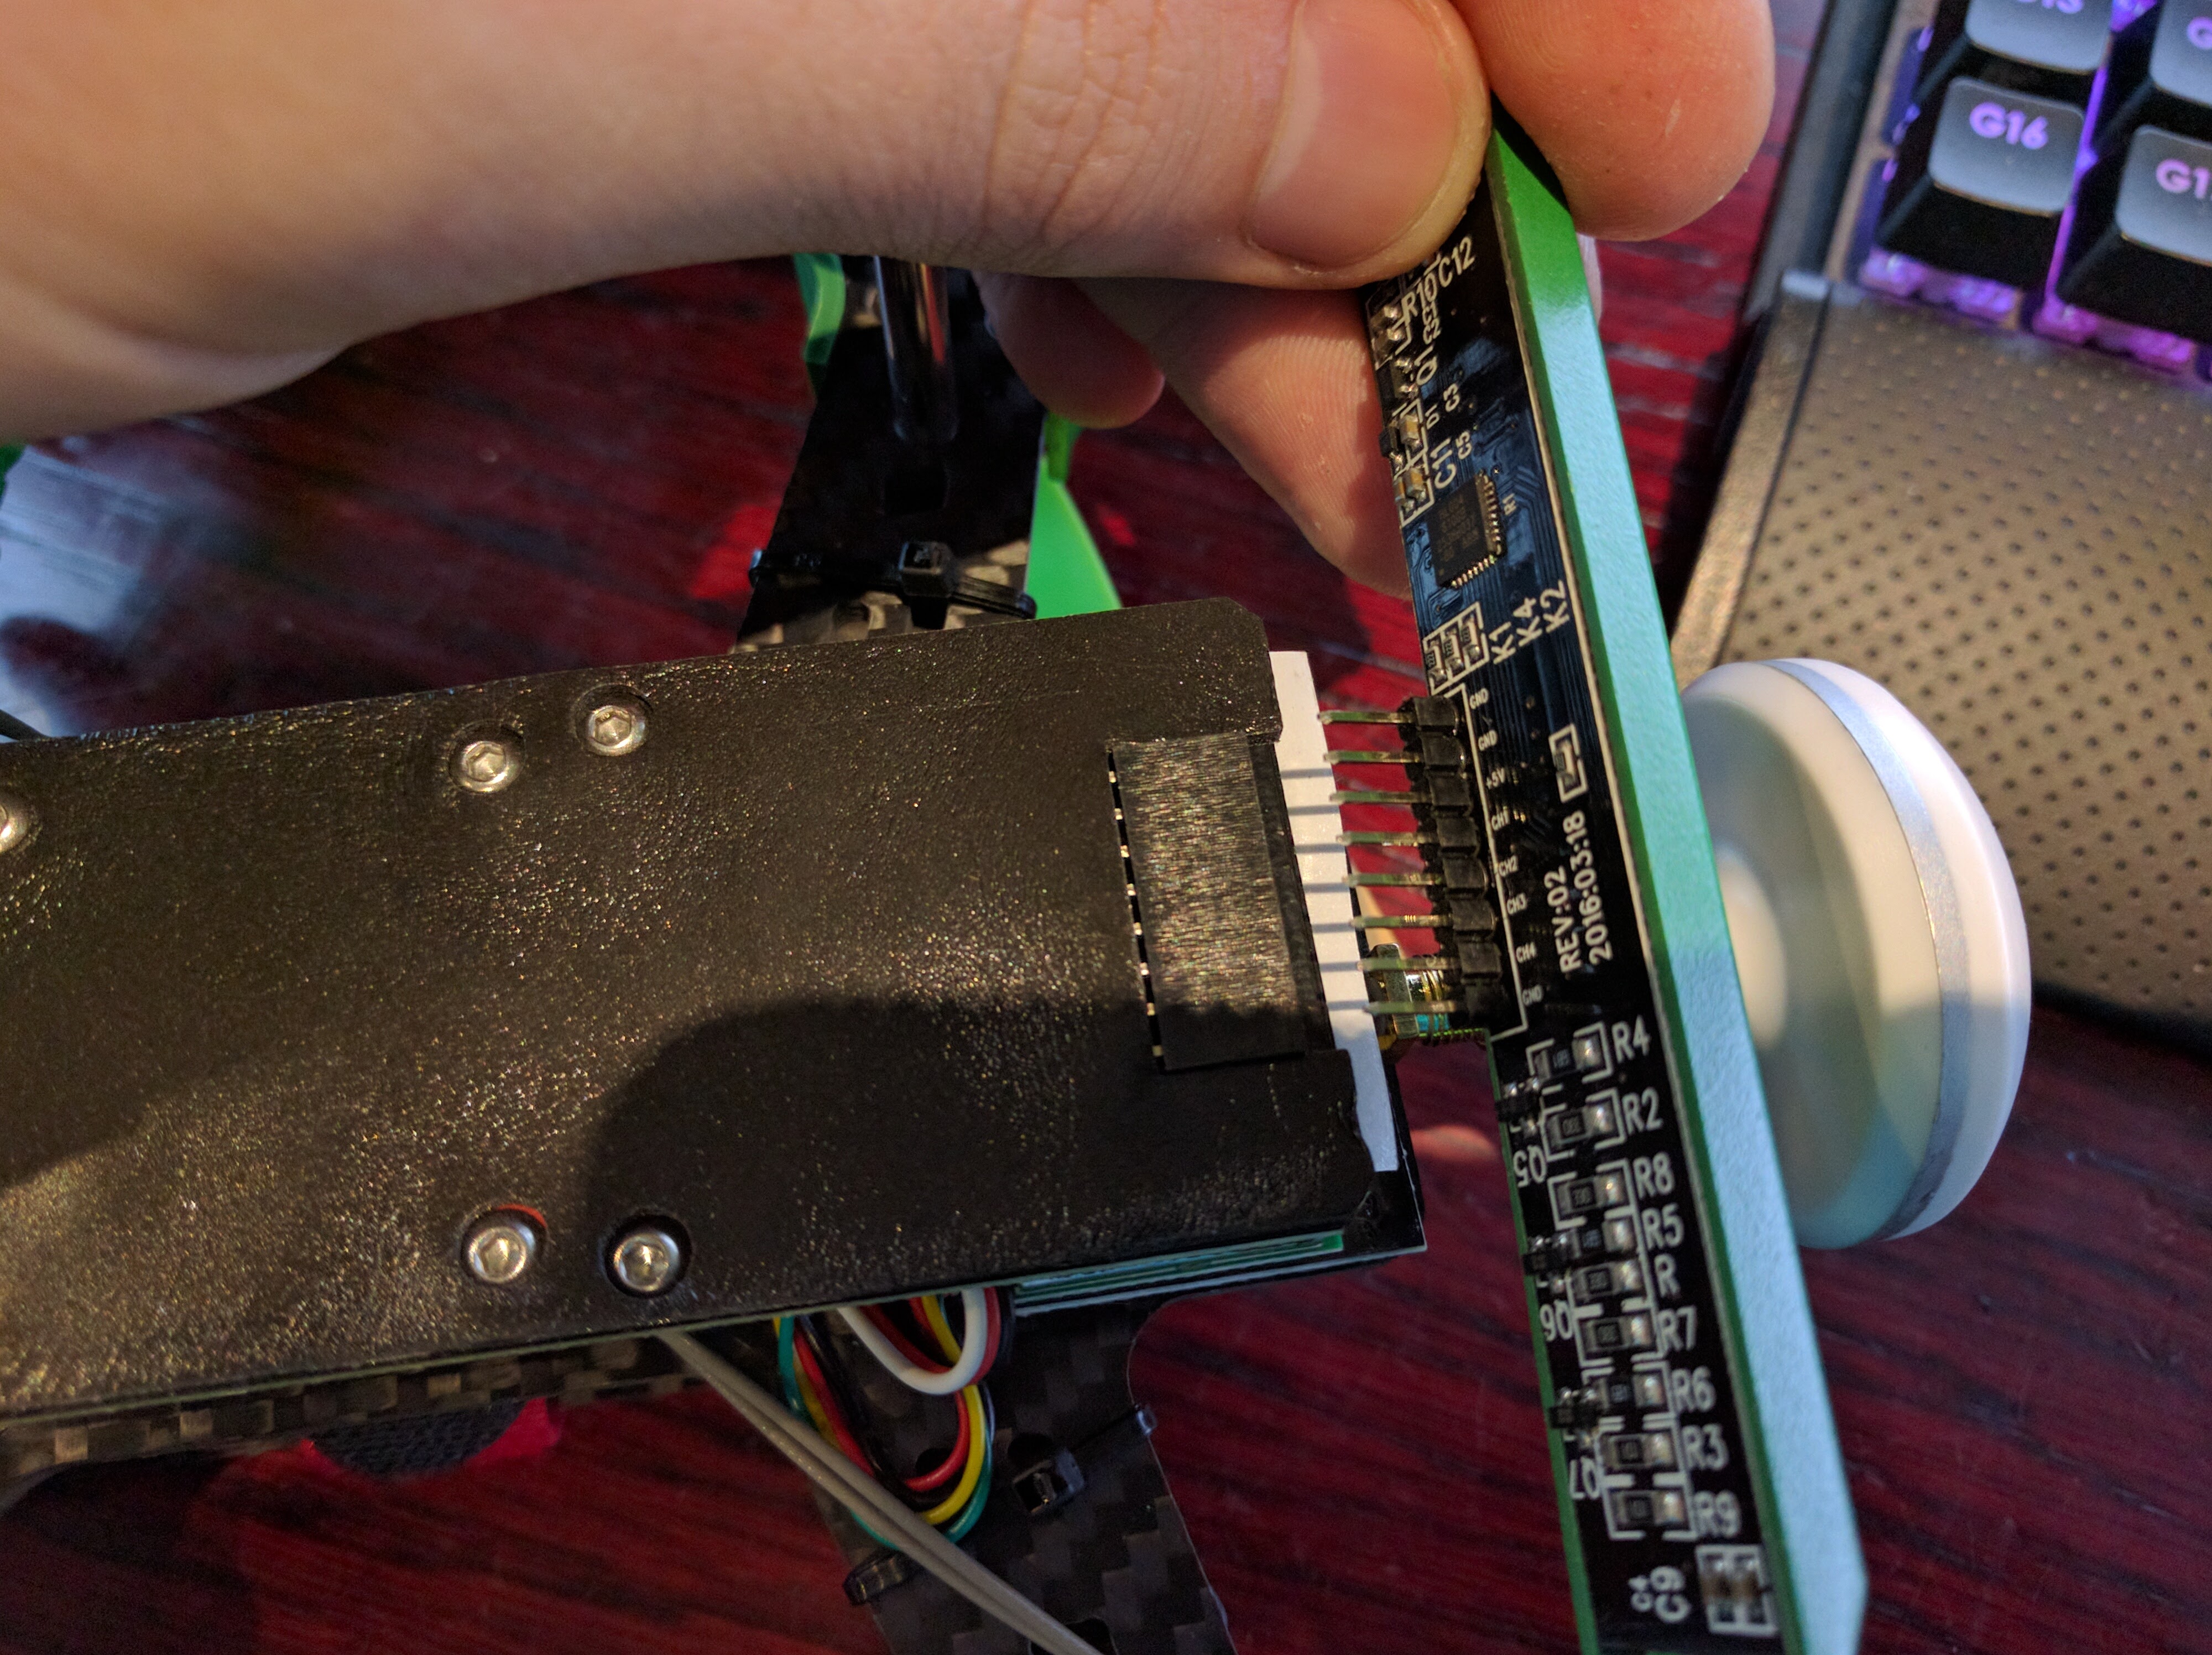
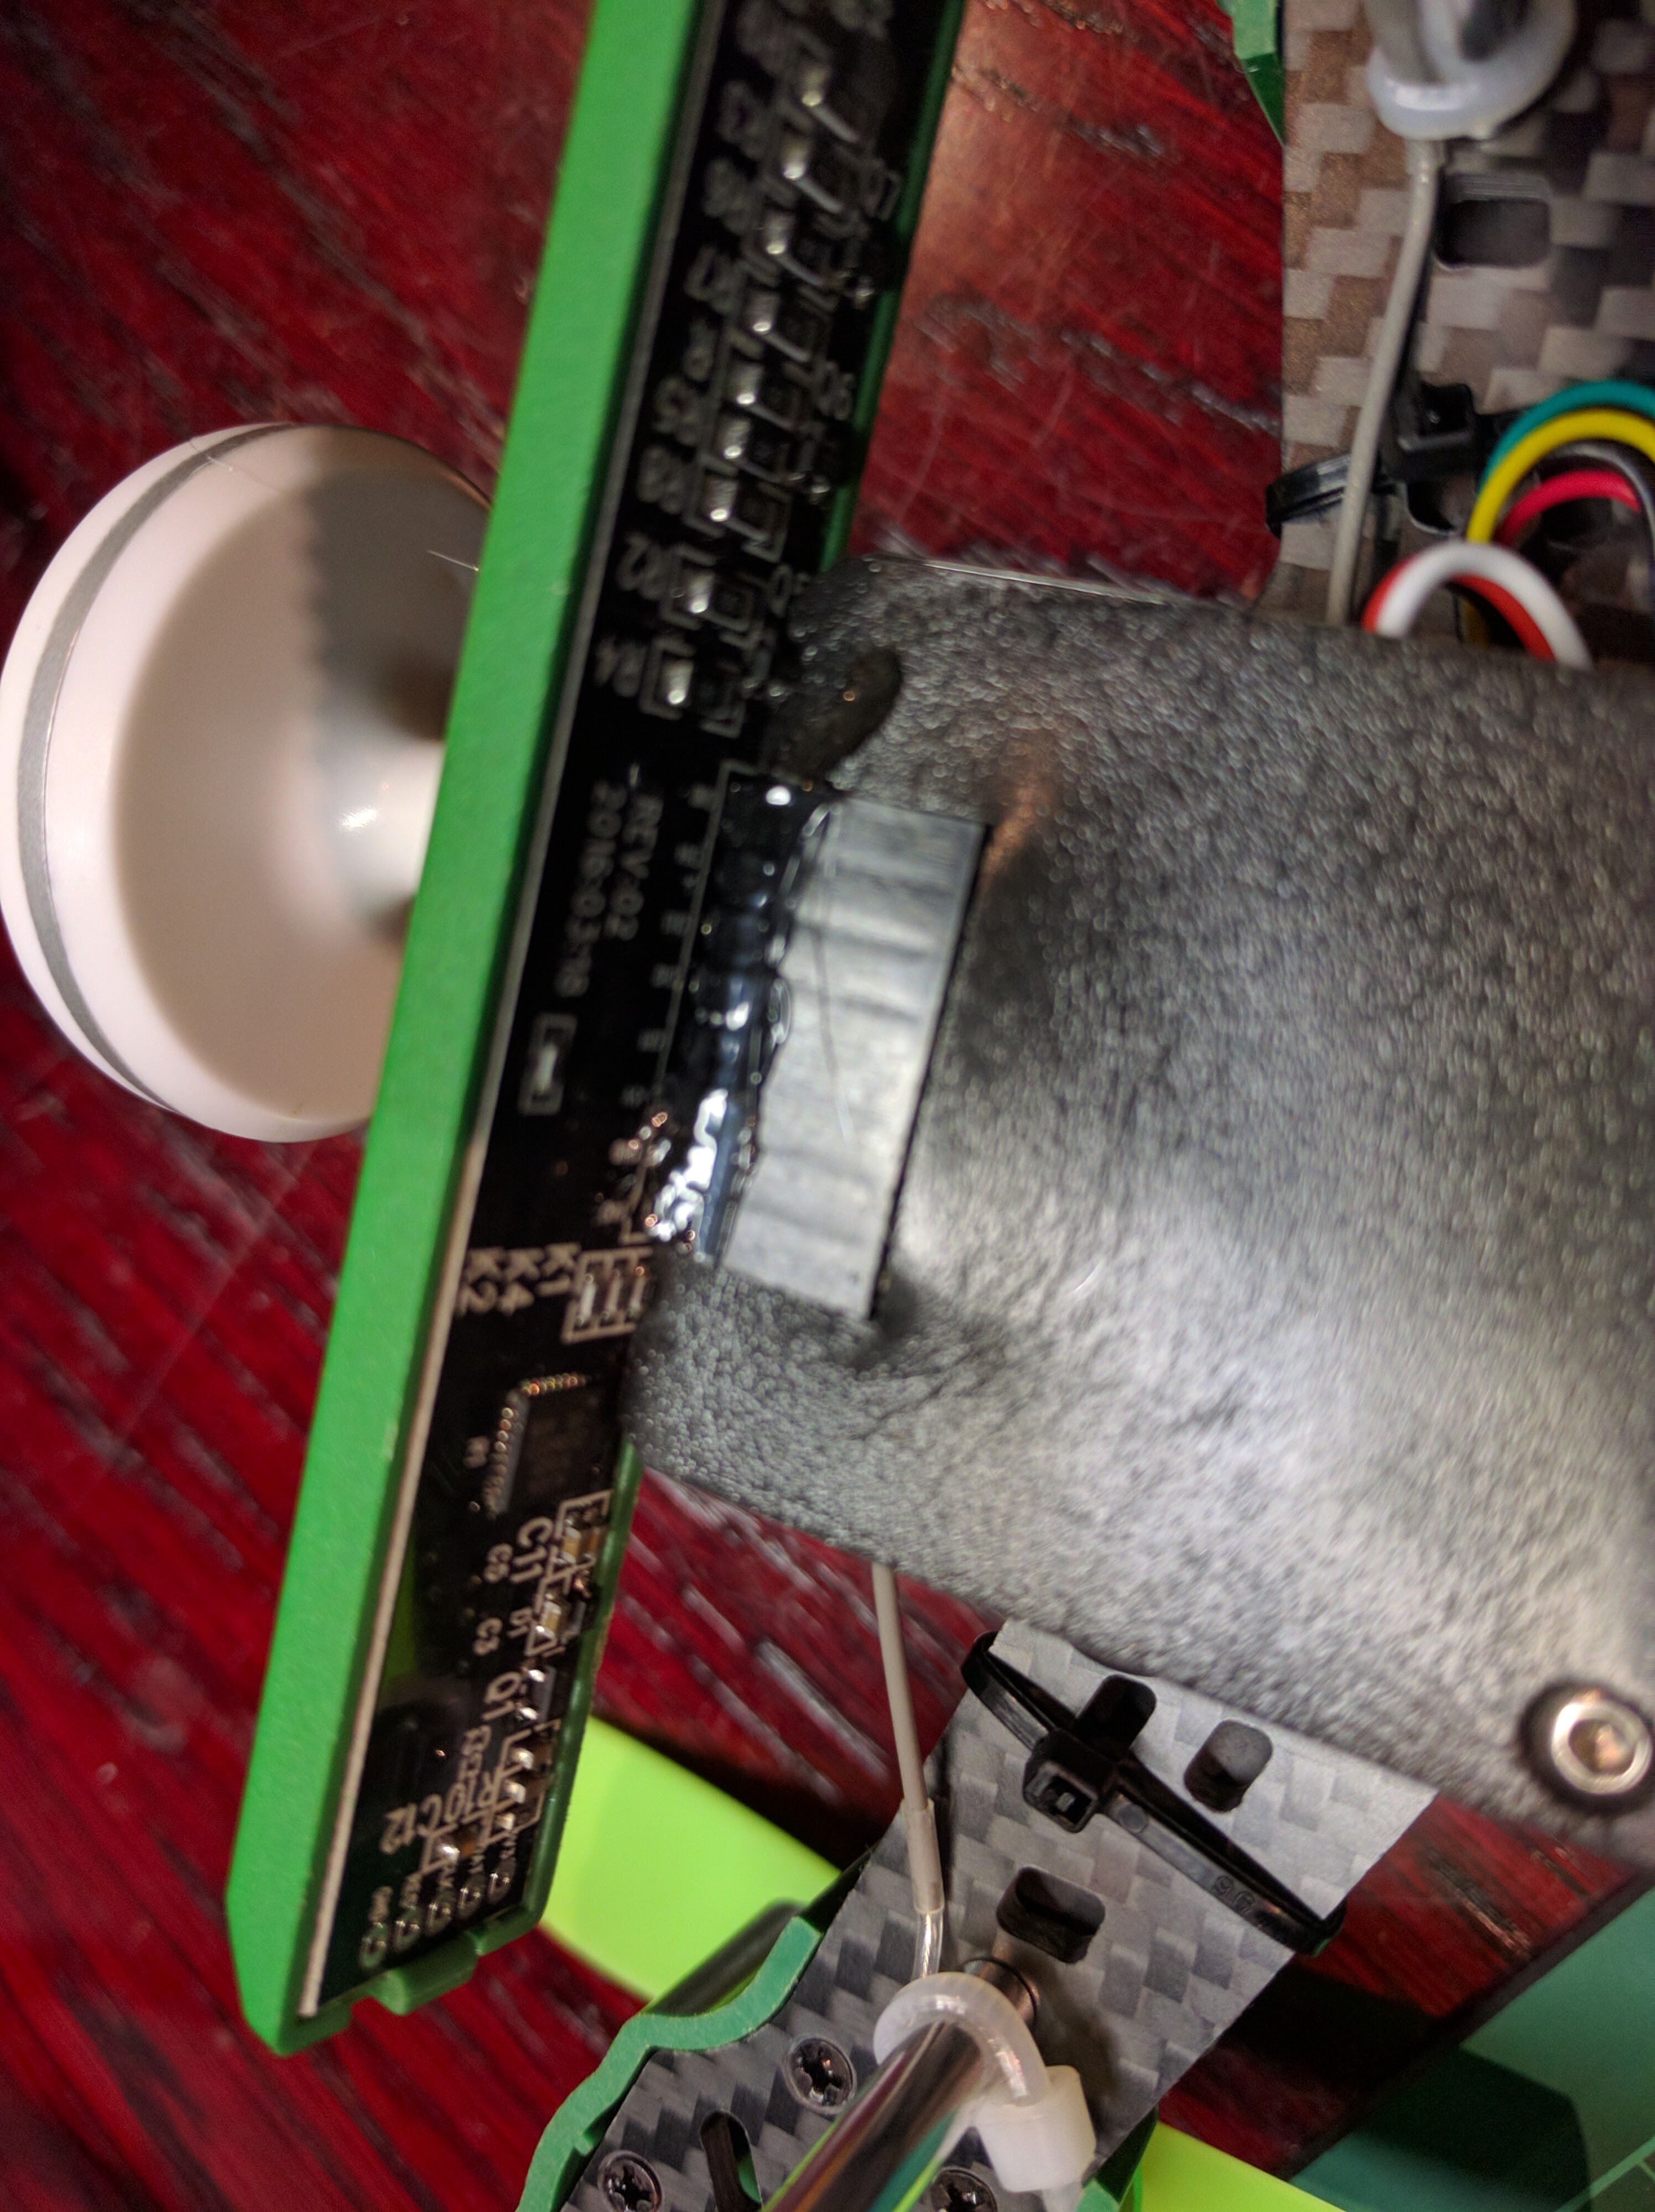
- Aerials aren’t mounted properly
- No Flight Modes set, only Acro Mode!
- Comes with default base flight instead of cleanflight and its Running old firmware released on: Aug 27 2015
The Solutions
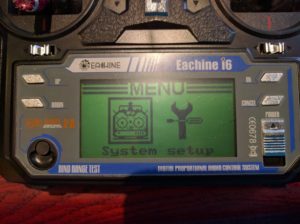
- To Change the Eaching i6 Transmitter settings, Hold the yaw trim to the right, the roll trim to the left and turn on the transmitter. You can then enter settings by holding down ok on the Transmitter
- Part of solution 3
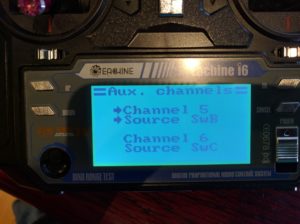
- Now that you can enter the setup of i6, goto Functions Setup, Aux Channels, then change Chanel 5 to SwB and Channel 6 to Swc. Hold down Cancel to SAVE. Switches for modes and settings are way better than turning Knobs!

- Simply put some hot glue on the led connection, this should give it some strength and stay attached in light crashes.

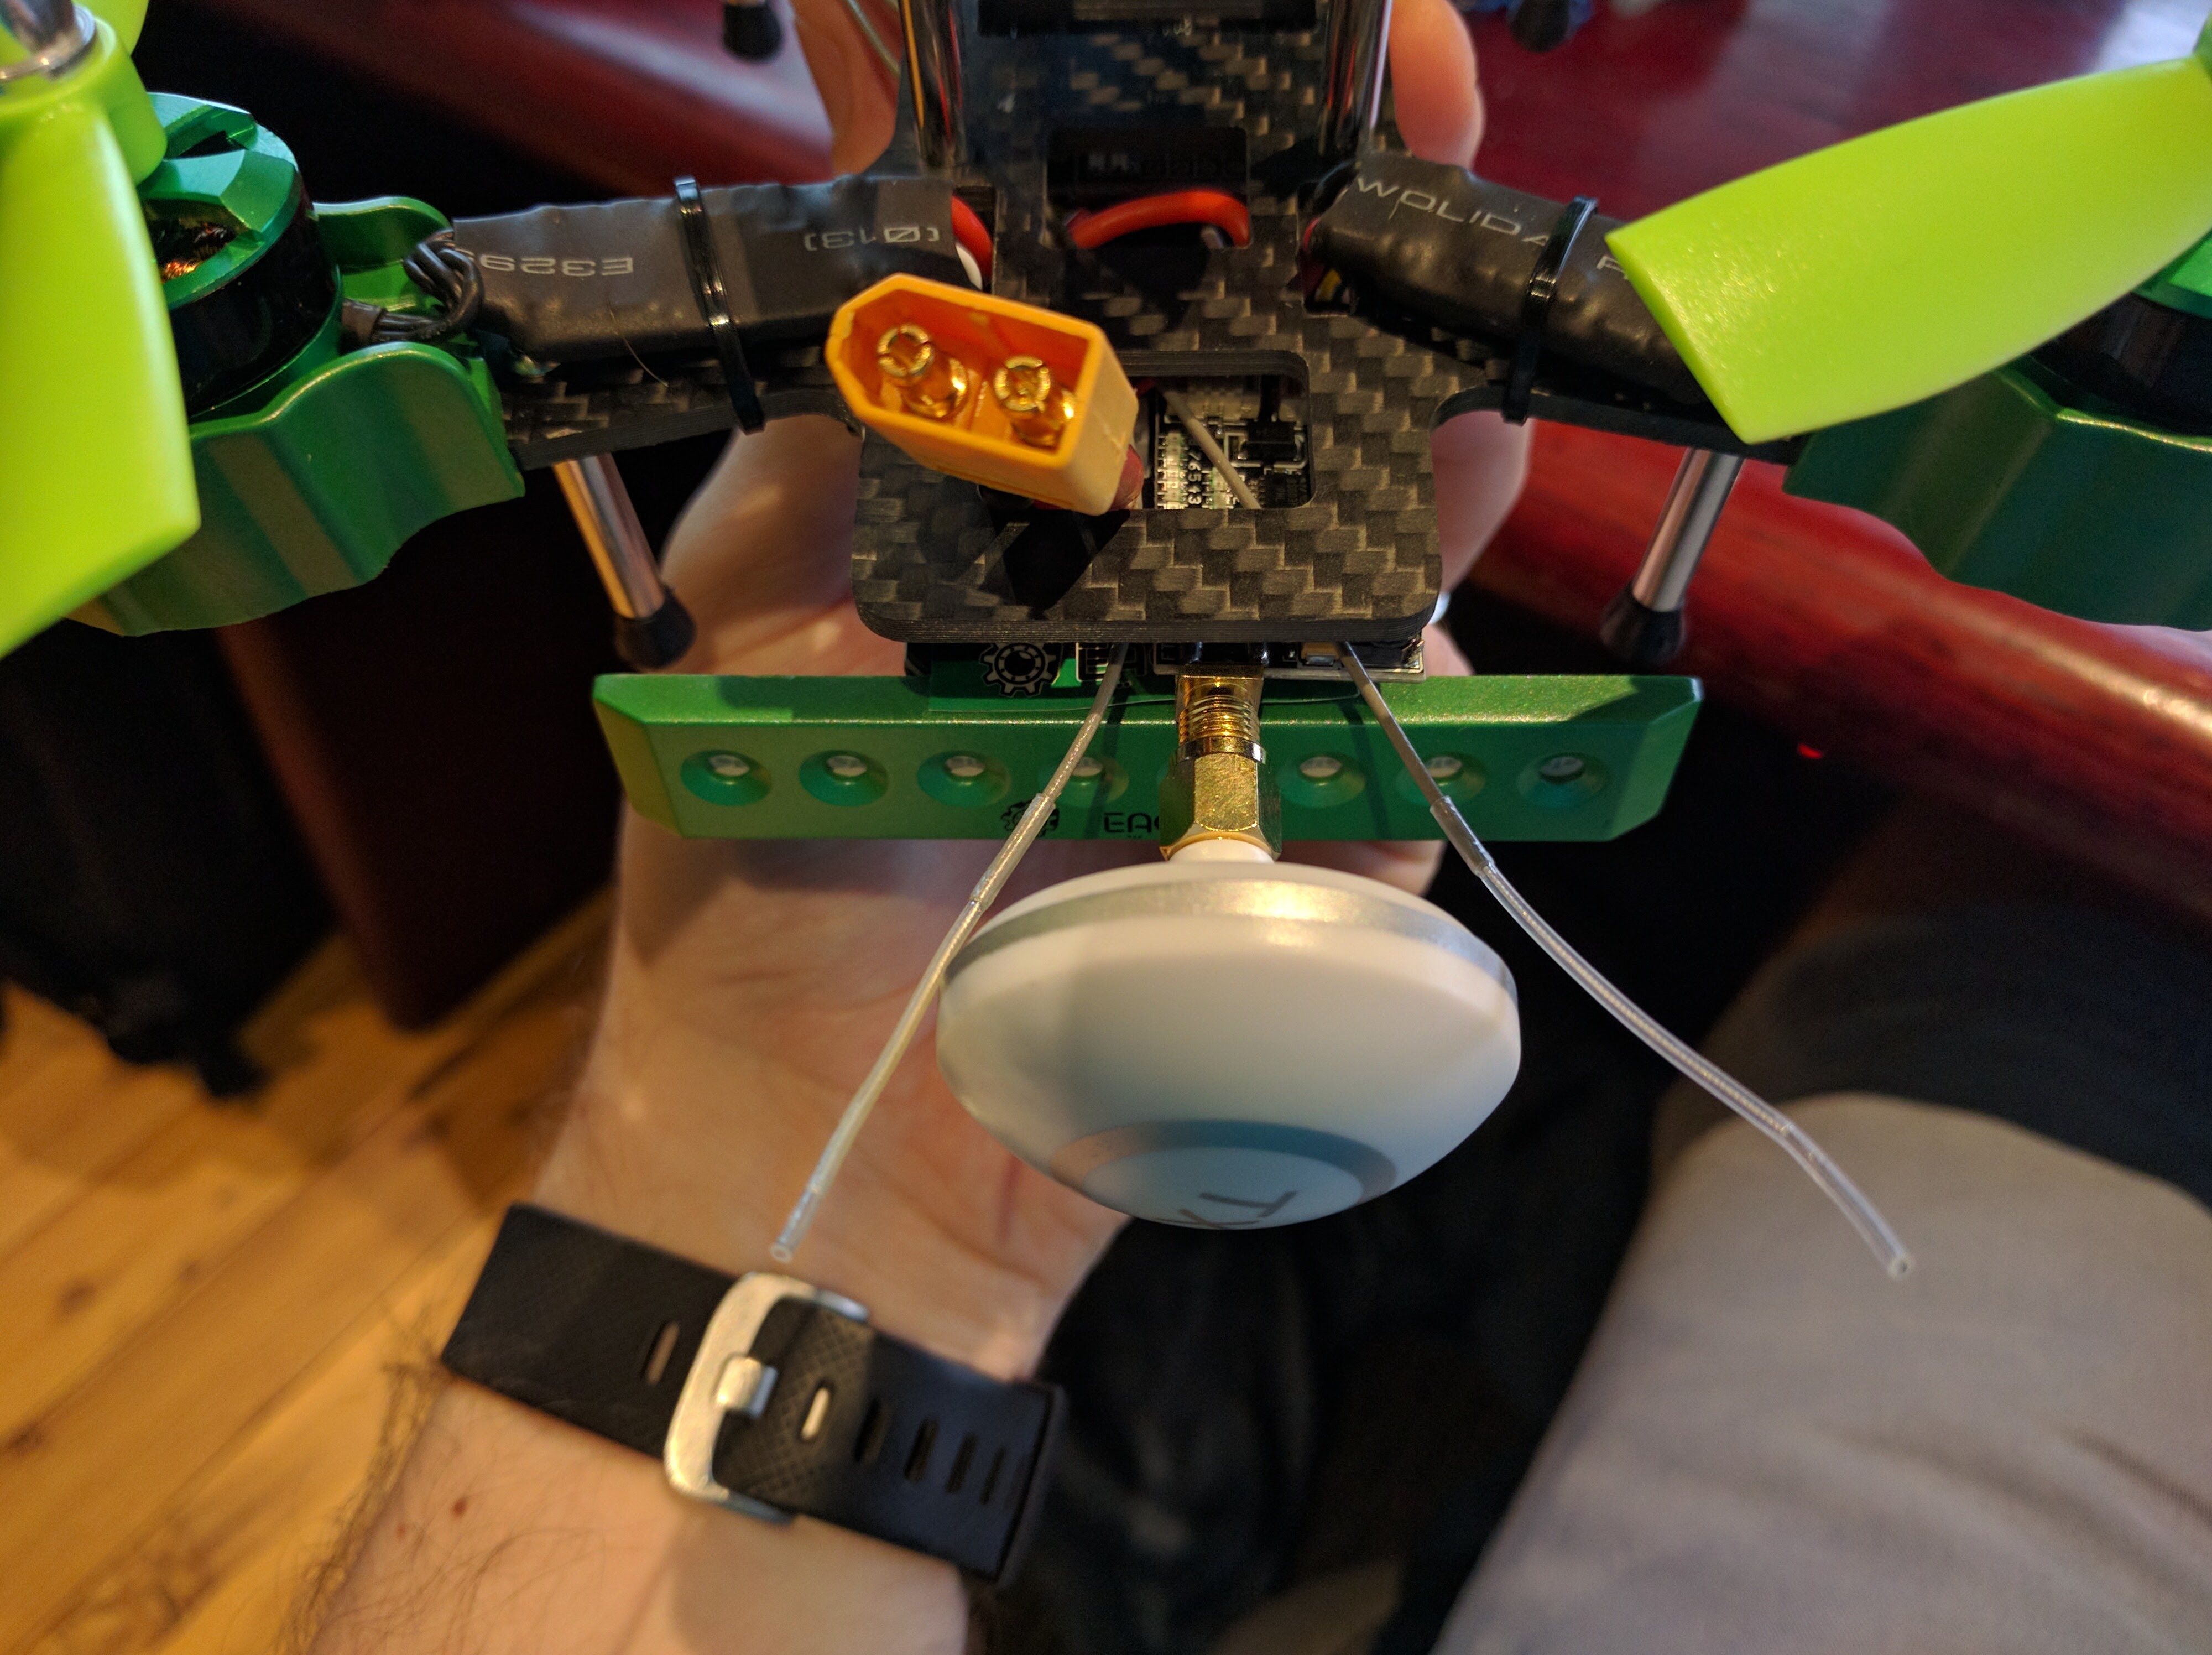
- Get the cable ties out push the antennas through the centre and out the back. There is lots of ways aerials can be remounted, mine is the 2 minute fix.
Cables come like this

Pull the cables through the back near aerial instead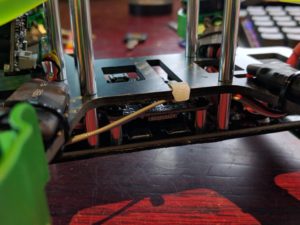
Cable tie and make it neat
Cable tie to the side legs. - See step 7.
- This last stage is quite a bit of work, but hang in there. We are going to convert the baseflight to the latest Cleanflight 2.8, set it all up and configure the switches.
Convert Eachine 180 Falcon Nazd32 Baseflight to Cleanflight


- Remove Props from Quad.
- Install the Cleanflight Configurator from the Chrome Web Store.
- Download Latest cleanflight or Betaflight _NAZE.hex from release pages.
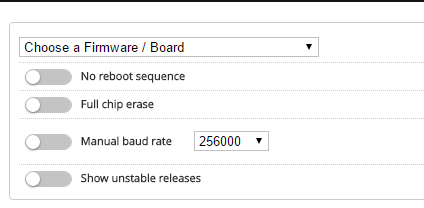
For difference on Cleanflight vs Betaflight view this article. - In Cleanflight Configuration, make sure you disconnect from your quad, then click the firmware flasher tab.
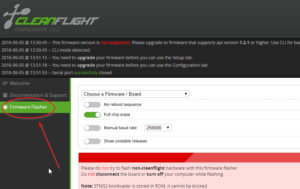
- Click Load Firmware [Local]
- Select file you downloaded from Step 3.
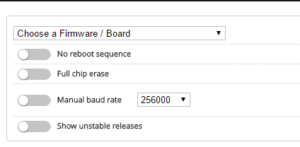
- Select These options as per screenshot
- Click Flash Firmware
- You are now on Cleanflight/Betaflight!
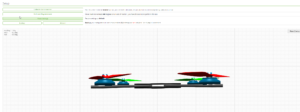
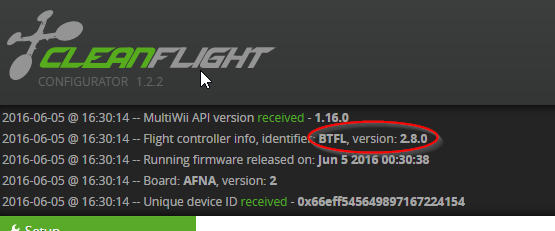
- Click Connect at the top right and if successful you should see your quad like this
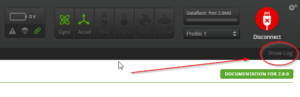
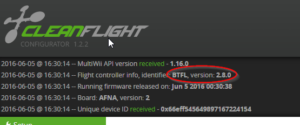
- You can check what version the chip is running by expanding the log
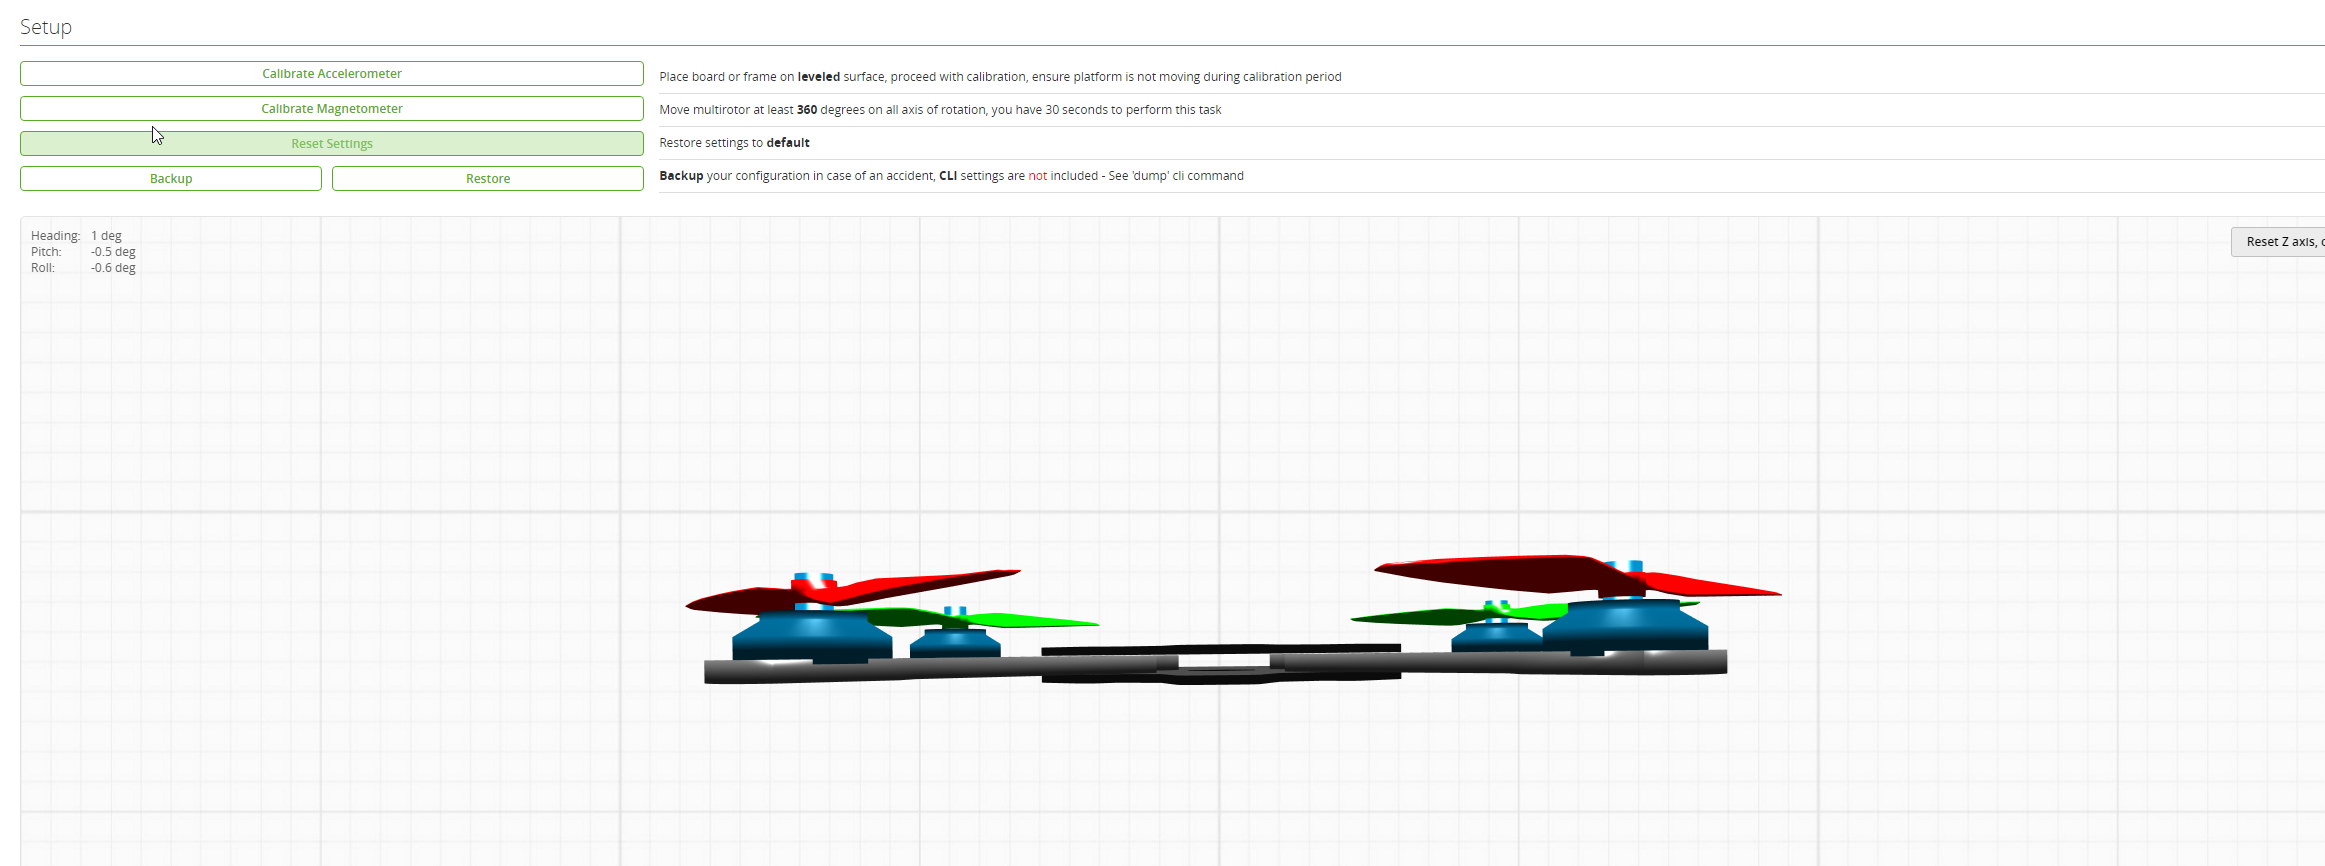
- Place Quad on flat surface and under setup, click calibrate accelerometer.
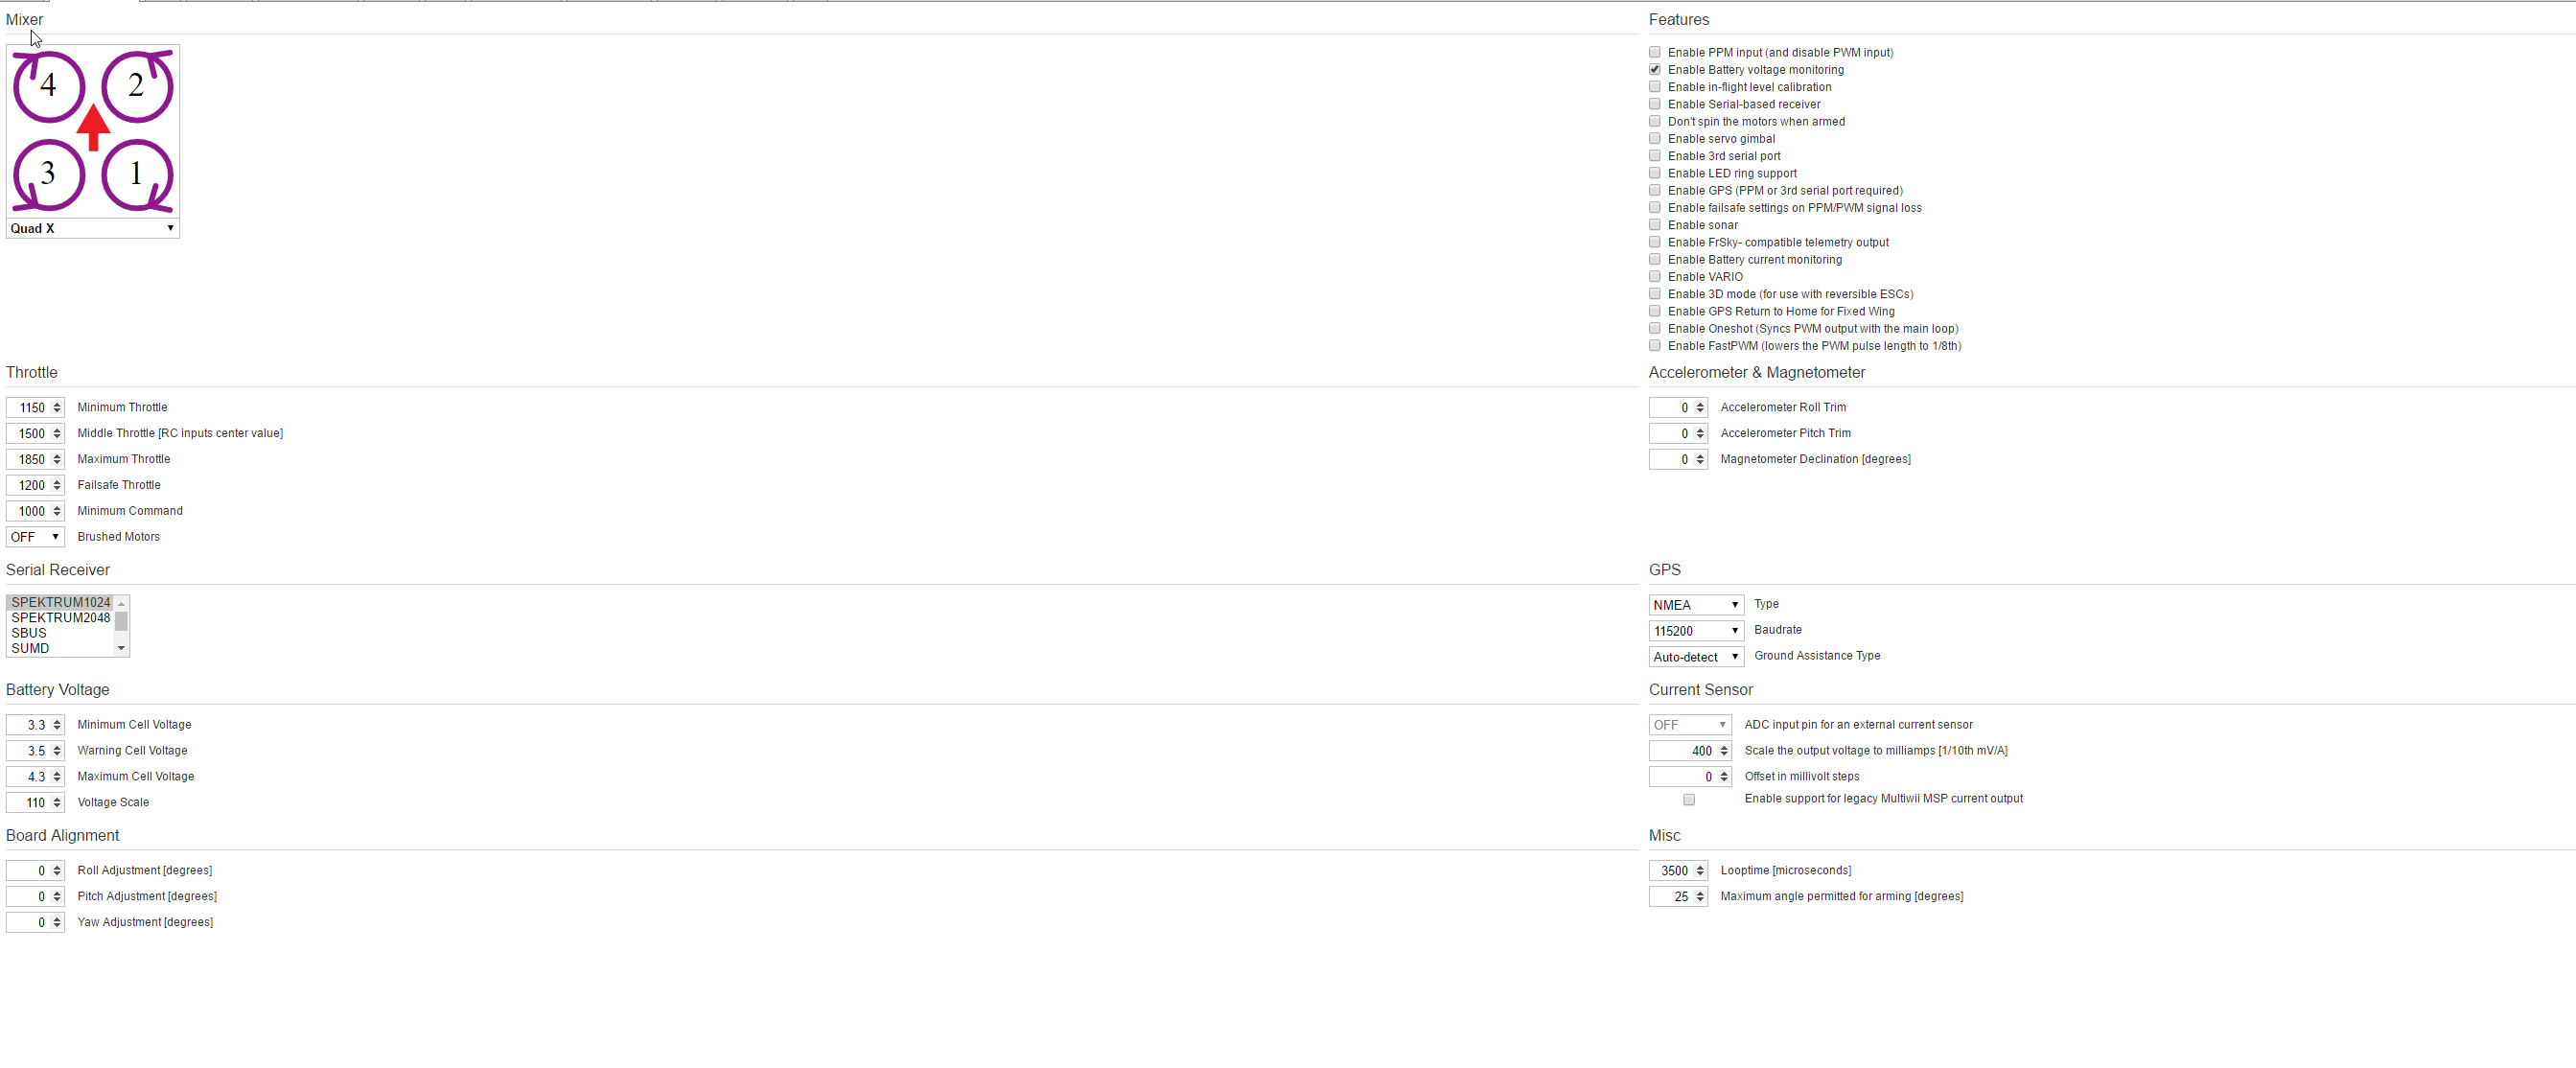
- Go to Configration tab
Change minimum throttle to 1050
Change Maximum throttle to 1950
Save and reboot
Your screen should look like this
- Now we need to calibrate ESC, go to the motor tab. remember, you should have removed props at the start, if you didn’t, DO THIS NOW.
Unplug battery
Click “I Understand the risks …….”
Slide Master to MAX
Plug in battery, wait till you have heard all different types of beeps.
Slide Master to MIN
ESC Calibration is now complete, however you must test that it has worked correctly.Click master, then push the up arrow on your keyboard. You are checking that all motors spin at the same throttle input. Mine All turned on at 1048, correct!
If they come on at different throttle inputs, redo your calibration. - Now go back to the Configuration tab
Change minimum throttle to 1050
Change Maximum throttle to 1935
Save and reboot - Next go to the Failsafe tab
Check you are happy with what the failsafe is. I like it to slowly land, others like it to drop. There is pros and cons to both. Research what you want
- Next go to PID Tuning
Change roll rate to 0.80
Change pitch rate to 0.80
Change YAW rate to 0.40
TPA should be 0.20
TPA breakpoint should be 1650You can up these rates more if you like.Now set your PIDS to this. Please note this was for Betaflight 2.8.0 Be careful as different firmware will need different PIDS.
- Now go to receiver tab, and check all your transmitter channels are correct.
- Since we changed the knobs to switches for AUX 1 and AUX 2, we can now move on to next section and setup the switches.
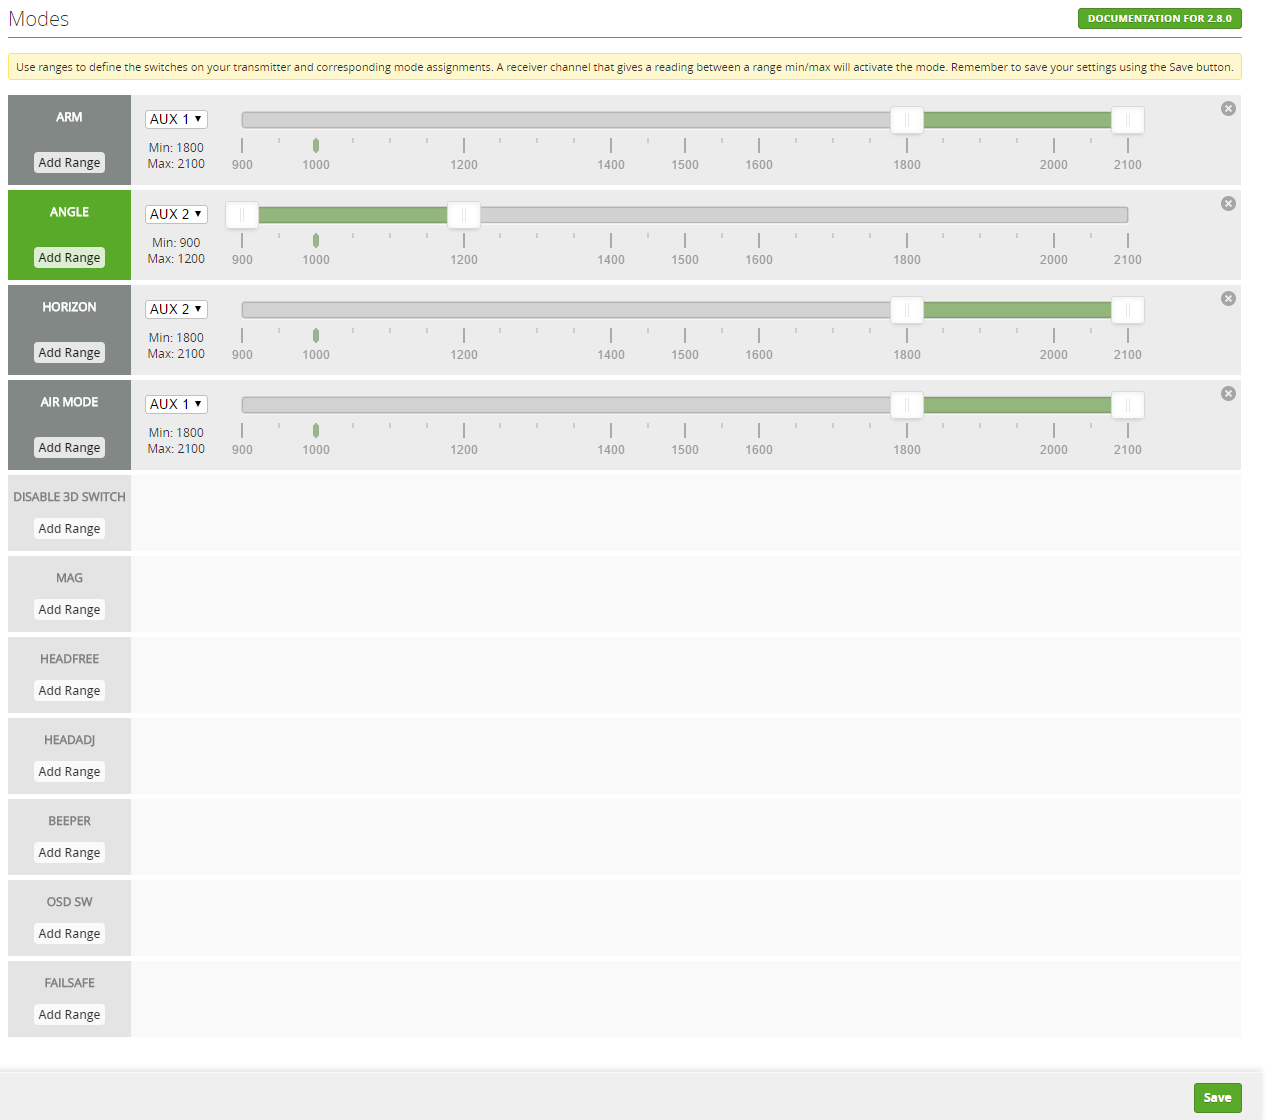
- Go to The Modes TabFYI, No mode selected = ACRO+ / Rate mode by default.
Altitude mode = Angle Mode
Rattitude mode = Horizon ModeIn the below screenshot I have setup the following for my switches.
SWB 1 = Nothing
SWB 2 = Quad ArmedSWC 1 = Angle
SWC 2 = ACRO/RATE
SWC 3 = Horizon

If you are a more advanced Pilot, you may want to change SWB 2 to Airmode and still use the Yaw right, Yaw left to arm and disarm. - Other Notes
Unfortunately this quad does not have a buzzer so we can’t use that feature.
It does have LED control, however when using Betaflight it seems if PWM for the receiver is being used, LED_strip can’t be used so the LEDS will just stay blue. - Give it a test flight! Make sure you are open space in case you missed a step and it crashes.


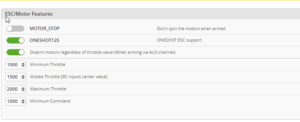
Default Falcon 180 Baseflight Configuration Screenshots
First Page
Configuration
![]()
Modes
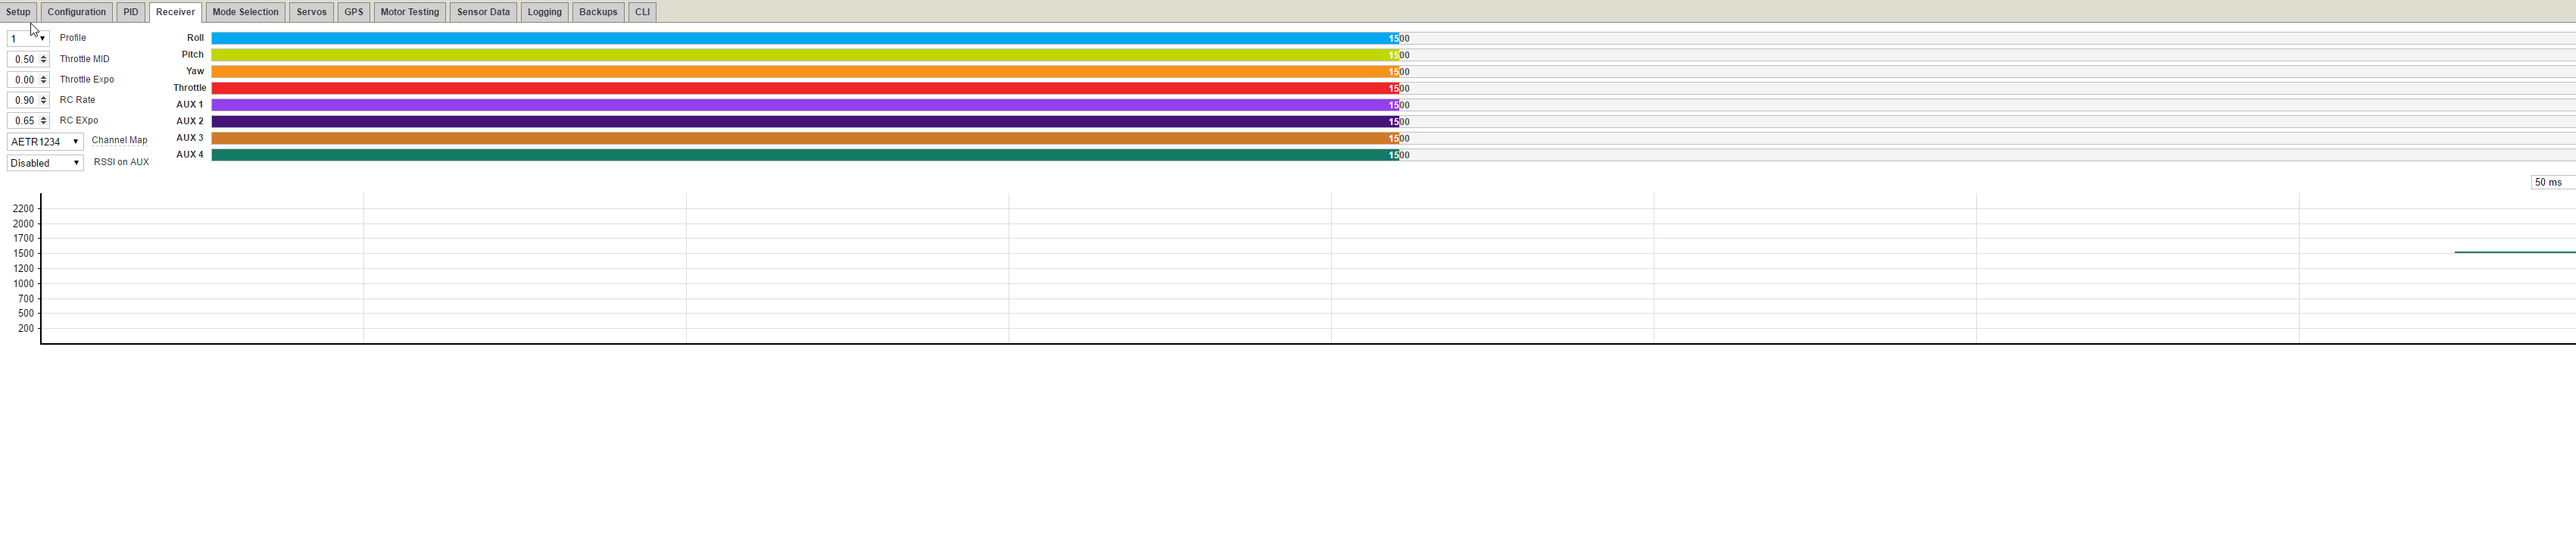
Receiver

PIDS